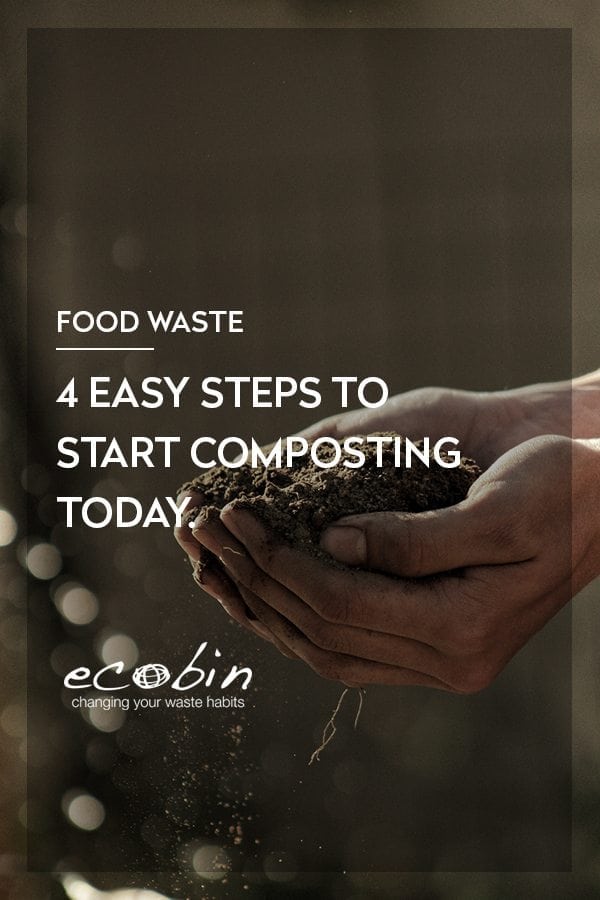
4 Easy Steps to Start Composting Today
4 Easy Steps to Start Composting Today
So you want to start composting, but not sure where to start? Good news! Composting is actually not as complicated as you think, and you can start right away. Composting is a natural process that consists of mixing plant leaves, grass clippings, vegetable peels and organic matters and turning them in to a rich soil, known as compost. Whether you live on a large block of land, or in a small apartment, there is a composting system that will work for you. All you need is a good composting bin and a little bit of knowledge about the process. Step 1 – Getting started Before you start your composting journey, you will need to first decide on the location of your compost project. You want your compost to be in a convenient location, that is protected from the wind, close to a water hose, and has a good drainage system so that the bottom of the pile does not turn soggy. It’s a good idea to have both an indoor composting bin, and an outdoor bin. Your indoor bin must be leak proof and have a lid to avoid odours. For indoor use, we love the Ecobin Kitchen Caddy which can sit on or under your kitchen bench and collect all the food scraps from your kitchen, before being emptied in to your outdoor compost bin.
Food Waste Kitchen Caddy Compost Bin
The next step is to choose your outdoor bin. For your outdoor compost, you can either opt to create your own compost pile, by choosing a location in your backyard and simply building a pile, or using a purpose designed compost bin, or alternatively sett up a worm farm. When choosing your outdoor bin, consider how much waste you think you will produce so that you have an idea of how large you want your bin to be.
The Eco Master 300 is a tough and robust, stand-alone composter with dual hatches for easy collection of your compost.
Step 2 – What to put in your bin Ingredients for composting can be classified into two different categories – brown and green materials. Green materials include any grass clippings, fruit & vegetable scraps or peelings, coffee grounds etc. and brown material includes dried leaves, newspaper, wood chips, sawdust etc. The brown material acts as your dry material and is rich in carbon, while your green material is usually of a high moisture content and is rich in nitrogen. An adequate supply of both brown and green material is needed by the microbes responsible for decomposition in your composting bin. As a rule, you should mix one-part green materials to two parts brown materials. See below for a helpful chart on what you can and can’t put in your composting bin.|
Green |
Brown | Do Not Compost |
| Vegetable and fruit scraps (fresh, cooked, or canned), coffee grounds/filters, tea leaves/bags, garden waste, fresh weeds without seeds, fresh grass clippings | Dry leaves, straw, dry hay, sawdust, woodchips, dried grass clippings, dried weeds without seeds, shredded paper napkins, tissue paper |
Meat, fish, eggs, dairy products, oily foods, bones, plants infected with disease, plastic/petroleum products, metals, synthetic materials |
 If you are looking to compost indoors, then investing in a SmartCara might suit you. It will turn all your food waste into a dry odourless powder that can then be sprinkled into pot plants or garden beds.
Step 3 – The Process
When your composting starts to work, it’s a really interesting thing to watch. The microbes begin feeding on the materials you’ve provided, and your bin or pile will actually start to rise in temperature.
To start building up your pile ready for the composting process there are a few things to note:
If you are looking to compost indoors, then investing in a SmartCara might suit you. It will turn all your food waste into a dry odourless powder that can then be sprinkled into pot plants or garden beds.
Step 3 – The Process
When your composting starts to work, it’s a really interesting thing to watch. The microbes begin feeding on the materials you’ve provided, and your bin or pile will actually start to rise in temperature.
To start building up your pile ready for the composting process there are a few things to note:
- Start your composting with a large layer of brown material as the base
- Then begin to alternate your layers between green and brown
- The smaller the waste is, the easier and faster it will break down.
- Always cover your green layer with a brown layer immediately, as it avoids any odors
- It improves soil structure in all soils, which then improves water retention and is great for your garden
- It nourishes the microbes that protect against some plant diseases
- It saves you money, that you no longer have to spend on purchasing compost from the store
- It reduces the amount of food waste that goes to landfill, which inturn reduces the amount of methane produced, a unique and damaging by-product of food break down in landfills which is avoided in dedicated compost scenarios
- It reduces the need for damaging pesticides and fertilizers